
Building your own gaming PC might sound scary at first, but it’s one of the most rewarding projects you can take on. Whether you’re a student in Kuala Lumpur saving up your ringgit or a working professional in Penang chasing smoother gameplay, putting together your own rig gives you full control over performance and budget. This guide walks you through everything you need to know, step by step, in plain and simple language.
Why Build Your Own Gaming PC?
Buying a pre-built machine is easy, but assembling your own offers real advantages. Here’s why so many Malaysian gamers choose the DIY route:
- Value for money: You pick each part based on your budget. No paying extra for features you don’t need.
- Better performance: Custom builds often outperform pre-built systems at the same price point.
- Easy upgrades: Want a stronger graphics card next year? Just swap it out. No need to buy a whole new computer.
- A sense of pride: There’s nothing quite like switching on a machine you built with your own hands.
Plus, building your own PC teaches you how everything works. That knowledge comes in handy when something needs fixing or upgrading down the road.
Understanding the Essential Components
Before you start, it helps to know what each part does. Think of your PC like a team where every member plays a role. Let’s break down the core components.
1. CPU (Processor)
The CPU is the brain of your computer. It handles instructions and keeps everything running. For gaming, a mid-range processor from AMD or Intel usually does the job well. Match your CPU to your budget and the type of games you play.
2. GPU (Graphics Card)
For gamers, the graphics card is arguably the most important part. It renders the visuals you see on screen. A stronger GPU means smoother frame rates and sharper graphics. If you have to splurge on one component, this is often the one worth it.
3. RAM (Memory)
RAM lets your system handle multiple tasks at once. For modern gaming, 16GB is a solid starting point. It keeps your games running smoothly while background apps stay open.
4. Motherboard
The motherboard connects everything together. When choosing one, make sure it’s compatible with your CPU and has enough slots for your RAM and other parts. Double-check the socket type before buying.
5. Storage
You’ll want a solid-state drive (SSD) for fast loading times. An SSD makes your games and apps open much quicker than an older hard drive. Many builders add a larger hard drive too, for storing files and extra games.
6. PSU (Power Supply Unit)
The power supply feeds electricity to all your parts. Never cheap out here. A reliable PSU with enough wattage keeps your system stable and protects your other components.
7. Case
The case holds everything together and affects airflow. Pick one with good ventilation to keep temperatures low, especially important in our warm Malaysian climate. Choose a size that fits your motherboard and gives room for cables.
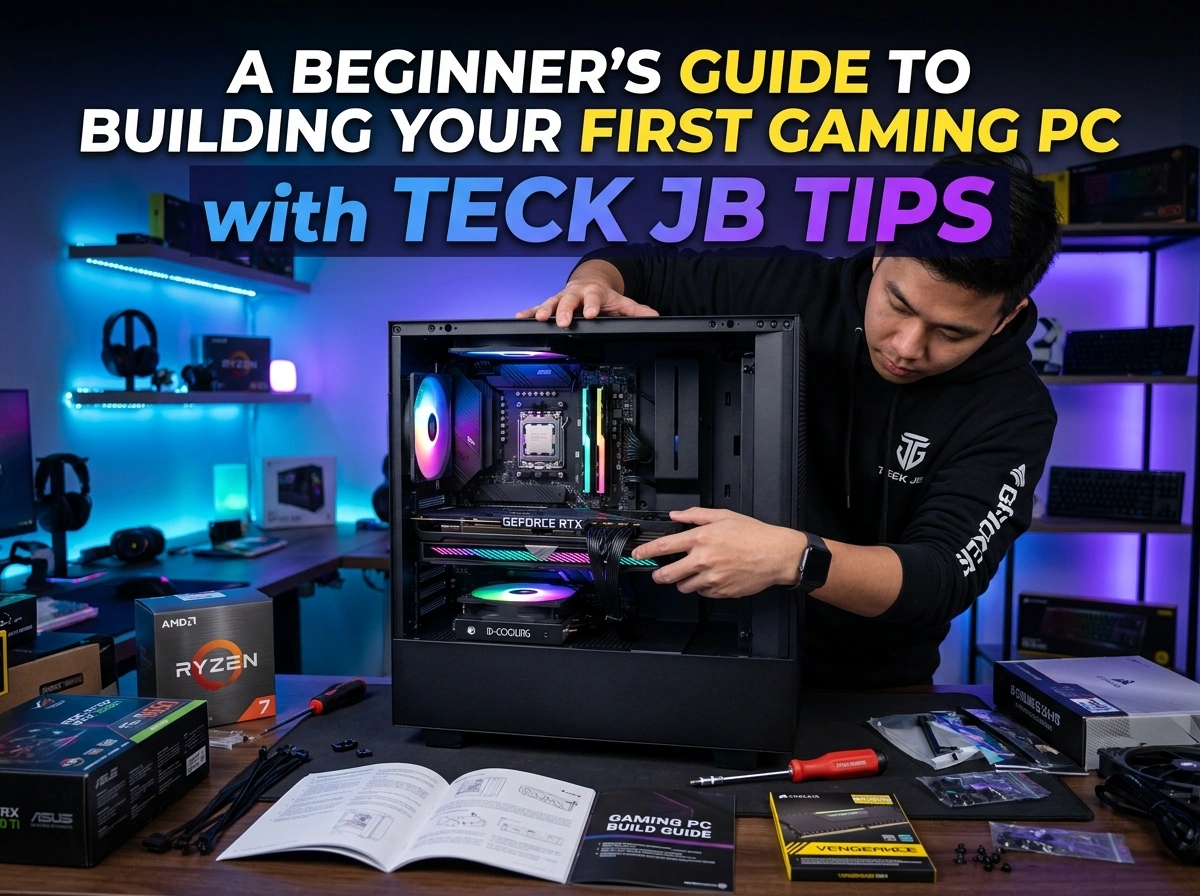
If you’re shopping around for quality parts and helpful local guidance, checking out trusted resources like teck jb can make the process much smoother.
Step-by-Step Assembly Tips for Beginners
Now comes the fun part. Take your time and follow these steps carefully. There’s no rush.
Prepare Your Workspace
Find a clean, flat, well-lit area. Keep your screwdriver handy and have all your parts within reach. Touch a metal surface or wear an anti-static wrist strap to avoid damaging components with static electricity.
Install the CPU
Open the CPU socket on your motherboard. Gently place the processor, lining up the small arrow on the corner with the matching mark on the socket. Lower the lever to lock it in place. Never force it.
Add the Cooler
Attach the CPU cooler on top of the processor. If your cooler doesn’t come with pre-applied thermal paste, apply a small amount first. This helps keep your CPU cool during long gaming sessions.
Install RAM
Push the RAM sticks into their slots until they click. Check your motherboard manual to know which slots to use for the best performance.
Mount the Motherboard
Place the motherboard inside your case and secure it with screws. Make sure it lines up with the standoffs to avoid short circuits.
Install Storage and Power Supply
Slot in your SSD and mount the power supply in its designated spot. Keep cables neat and organized for better airflow.
Add the Graphics Card
Insert your GPU into the top PCIe slot until it clicks. Secure it with a screw and connect the power cables.
Connect Everything
Plug in all the power cables, front panel connectors, and fans. Take your time here. A patient builder makes fewer mistakes.
Power On
Once everything’s connected, turn it on. If you see your motherboard logo, congratulations. You’re ready to install your operating system and start gaming.
Common Mistakes to Avoid
Even careful beginners slip up. Here are the most common errors and how to dodge them:
- Forgetting the I/O shield: Install this metal plate before mounting the motherboard. Many builders forget and have to start over.
- Skipping compatibility checks: Always confirm your parts work together before buying. Use online tools to check.
- Buying a weak power supply: An underpowered PSU causes crashes and can damage your build.
- Poor cable management: Messy cables block airflow and trap heat. Tidy them as you go.
- Forcing parts into place: If something doesn’t fit easily, stop and check. Forcing it can cause damage.
- Ignoring cooling: Our hot weather makes good airflow essential. Don’t overlook your fans.
Taking your time and double-checking each step saves you headaches later.
Setting a Realistic Budget
Before you buy anything, set a clear budget in ringgit and stick to it. Decide what games you want to play and at what quality. A casual gamer needs far less power than someone chasing the highest settings. Spread your money wisely across components, putting more toward the GPU and CPU since they affect gaming performance the most. Look out for deals during major sales periods and festive seasons, when local retailers often slash prices.
Final Thoughts
Building your first gaming PC is a journey worth taking. You’ll save money, learn valuable skills, and end up with a machine tailored exactly to your needs. Start with a clear plan, choose components that fit your budget, and follow each step patiently.
Remember, every expert builder was once a beginner too. Don’t be afraid to make mistakes along the way, because that’s how you learn. With the right parts, a little patience, and helpful local tips, you’ll soon be powering up a gaming rig you built yourself. Happy building, and enjoy the game.